Desoldering
The TLDR is: sometimes it helps to add more solder first before trying to remove older bits of it.
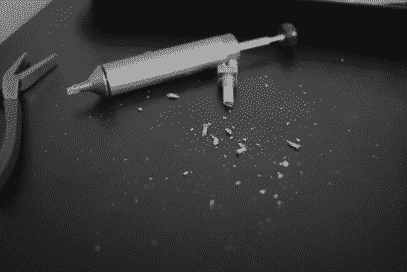
I have tried desoldering with the braided copper wire which soaks up solder, but mostly use a "solder sucker." These have worked with varying levels of success, but I was a bit stuck recently when trying to remove a broken encoder. There are 7 points soldered to the board for the encoder, which makes removing it tricky.
The backstory
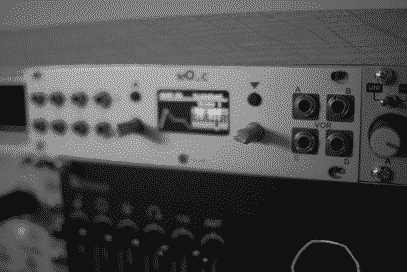
I sold my Plum Audio 1UO_c (Ornament and Crime eurorack module) on Reverb to someone. That person then sent me video documentation of the module not working for them. The screen wouldn't turn on, and the right encoder didn't work. I had them return it and gave them a refund.
The returned module had it's right encoder broken in a severe way, the button-press action was completely inoperable. Thankfully I was able to get the module to boot and the screen to work by just re-flashing the firmware.
So I wrote to Plum audio asking about the encoder. Shay wrote back saying "...any PEC11R encoder with 20 ppr / 20 detent can be used" and provided a link to one.
The process
Now back to desoldering. I was able to snip the connection points and remove the broken encoder, but cleaning the old solder out completely was important so that the new encoder could fit properly.
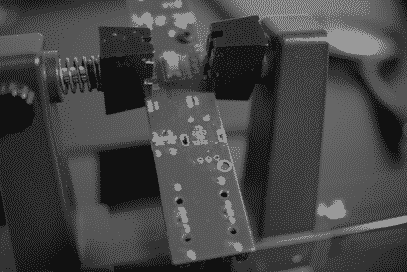
By adding a bit more solder, I was able to make a little molten pool that the solder-sucker seemed to have an easier time pulling out than when I just heated up the old solder
After doing this, the through-holes were cleared enough for the new encoder to be placed.

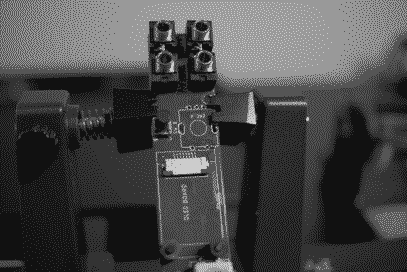
Next I placed the new encoder in the circuit board and then attached the front plate to ensure everything was lined up before soldering it in.
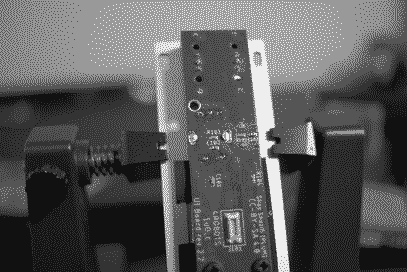
The new encoder was then soldered in place.
After doing the rest of the module's re-assembly, I plugged it in and was happy to find that the new encoder works perfectly.
Even though it's repaired, I don't think I'll put this up for re-sale again. I missed it when it was gone, and it's such a useful "Swiss army knife" of modules.