Mechanical Keyboard
I've used a mechanical keyboard for my day job for a number of years now. I'm currently using a Keychron K3, and before that an older Keychron model. Since I've stopped doing my day job in my workshop, I decided to try assembling a mechanical keyboard for use with my workshop computer (the one in the steel plate housing). Originally I was going to create a custom case that also housed a trackball, but I scrapped that plan, as I realized there was enough challenges in just doing my first assembly - I didn't want to add more with a DIY case.
The fun part of doing your own assembly is that you can choose the parts you want. The more standard the layout, the more options and flexibility you have.
I chose a 60% layout, and a PCB that has snap-fit housings for the buttons. Snap fit means no soldering is required, which was also a choice I made since this is my first time doing this.
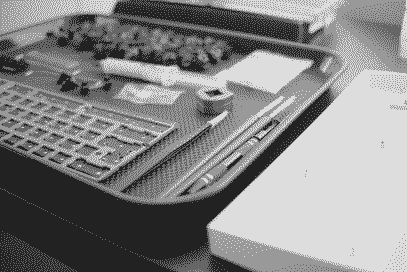
The keyboard setup, including some tools and I ended up not using this time
I purchased a key opener and some brushes in case I decided to lube the individual keys. I decided not to lube them because they seemed to sound/feel good as-is, and I could always decide to do that later since they are snap fit.
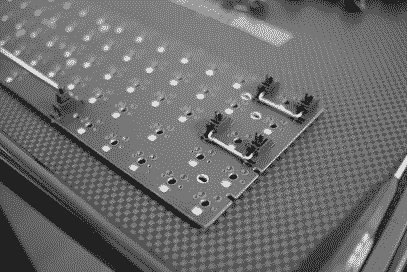
I did lube the stabilizers, as seems to be universally recommended. The install was a bit confusing until I realized that the top half just hooks in, and only the bottom half is actually screwed in.
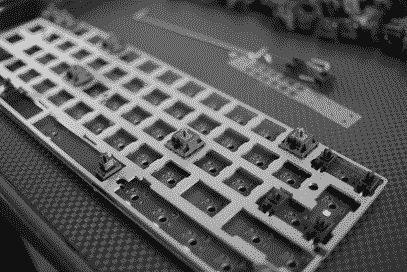
I put a few key buttons into the plate and snapped into the board to provide an even surface before snapping in the rest of the key buttons.
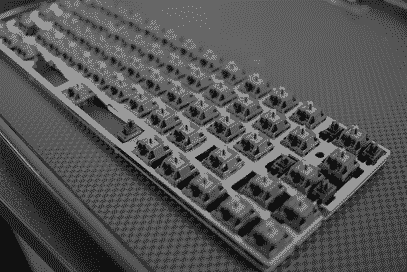
Once all the buttons were installed, it was ready to go into the case.
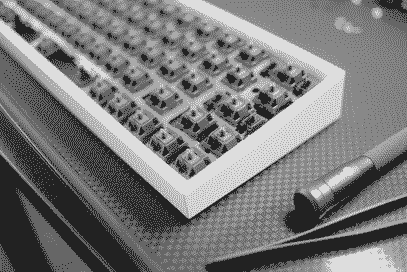
Screwing the plate into the case brought more confusion until I realized that the case was shipped with little filler pieces inside the screw holes that were meant to be removed. Once they were removed, I also had to learn that a magnetized screwdriver is really required to get the tiny screws correctly placed. With these two points of learning out of the way, the assembly feels very solid.
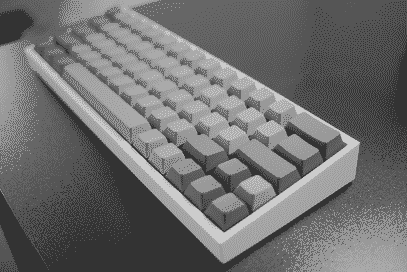
Next I placed the key caps. I have two sets that are both gray. I chose the ones that are blank to start because I prefer the look, but if they prove to be too frustrating, I can pull them off and use the ones with printed letters instead. From initial testing, it seems that the blank keys will be no problem.