Norns shield case
There are a lot of custom cases made for the norns sheild. I felt compelled to make my own version. The 3D printed shell and acrylic top that the norns shield comes with works well, but a custom case is a chance to personalize.
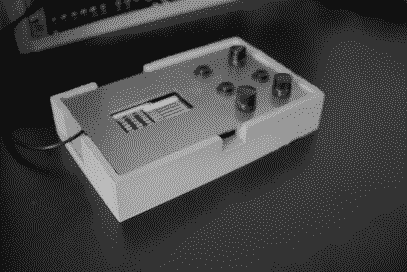
The finished case is a concrete tray with a removable steel plate. The norns/pi is attached to the plate from underneath using a 3d printed frame and heavy-duty double-sided framing tape (it's removable). The buttons and encoders have been removed from the norns sheild board, and replaced with panel mounted versions that are wired back to the board.
Goals
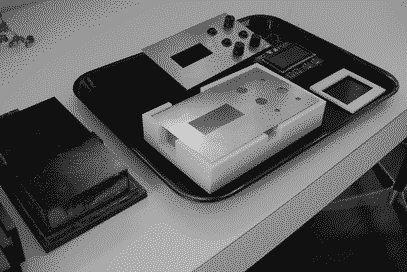
I don't travel with my norns and don't perform anywhere, so portability is not helpful for me. My custom case will be heavy, to stay in place on the desk. The housing will be larger so that cords plugged into the norns will actually go inside the housing and wires will run out through openings in the side. The PCB and controls will be attached to a top plate which is easy to lift up for swapping out what's plugged in to the norns.
Specific things I'm doing with this case: space out the button/knob combos away from the PCB, and change them to arcade buttons and larger knobs. Provide a heavy cast concrete base housing. Use metal for the top plate.
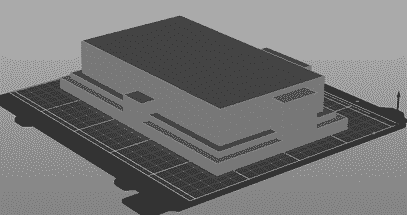
The main part of the mold is this inner part around which concrete flows. This forms the inside of the case. The first version had an infill that made it a single solid block. Removing it without breaking the concrete proved impossible.

This new version has thin walls and is hollow inside. Hopefully the combination of being hollow and using high-speed TPU filament, which is flexible, will allow the concrete to be removed cleanly.
I'm trying out the latest Prusa Slicer release (2.6.0 alpha4) which includes this organic tree-like pattern for very efficient auto-generated support material.

The print came out great, even with the supports remaining inside, it's very flexible, yet holds it's designed shape. There's really no reason to remove the supports.
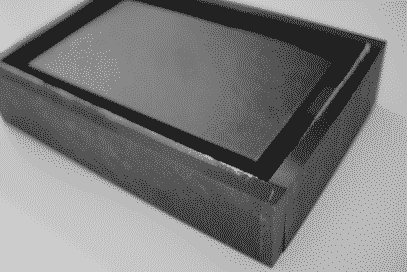
I'm re-using the old walls around the center part as the primary outer dimensions haven't changed.
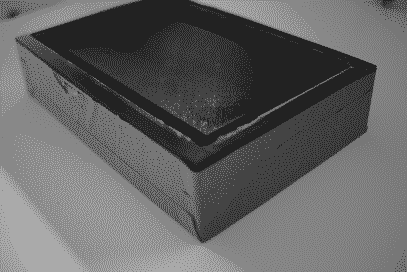
I add tape around the outside and bottom to help keep the parts in place and seal it up. It's ready for pouring now
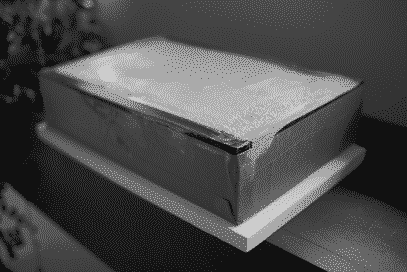
I mixed the concrete purely by feel, aiming for a frosting-like consistency that could still sink into the spaces. I worked quickly to fill the mold, and then I held it up by the board beneath it and applied a muscle vibrating machine underneath the board. The mixture may have been too thick for this to get out the air bubbles, but we'll see. I also don't have large enough clamps to keep the sides perfectly square, but I'm ok with all the imperfections.

I would be happy to share plans for this for anyone interested, however there are mistakes and imperfections to sort out prior to doing that. The biggest ones are that the mold is a bit too tight for the plate (I had to do a lot of concrete sanding to make it fit) and that the power out sits a bit too far to the right of the opening (I used a right angle adapter).